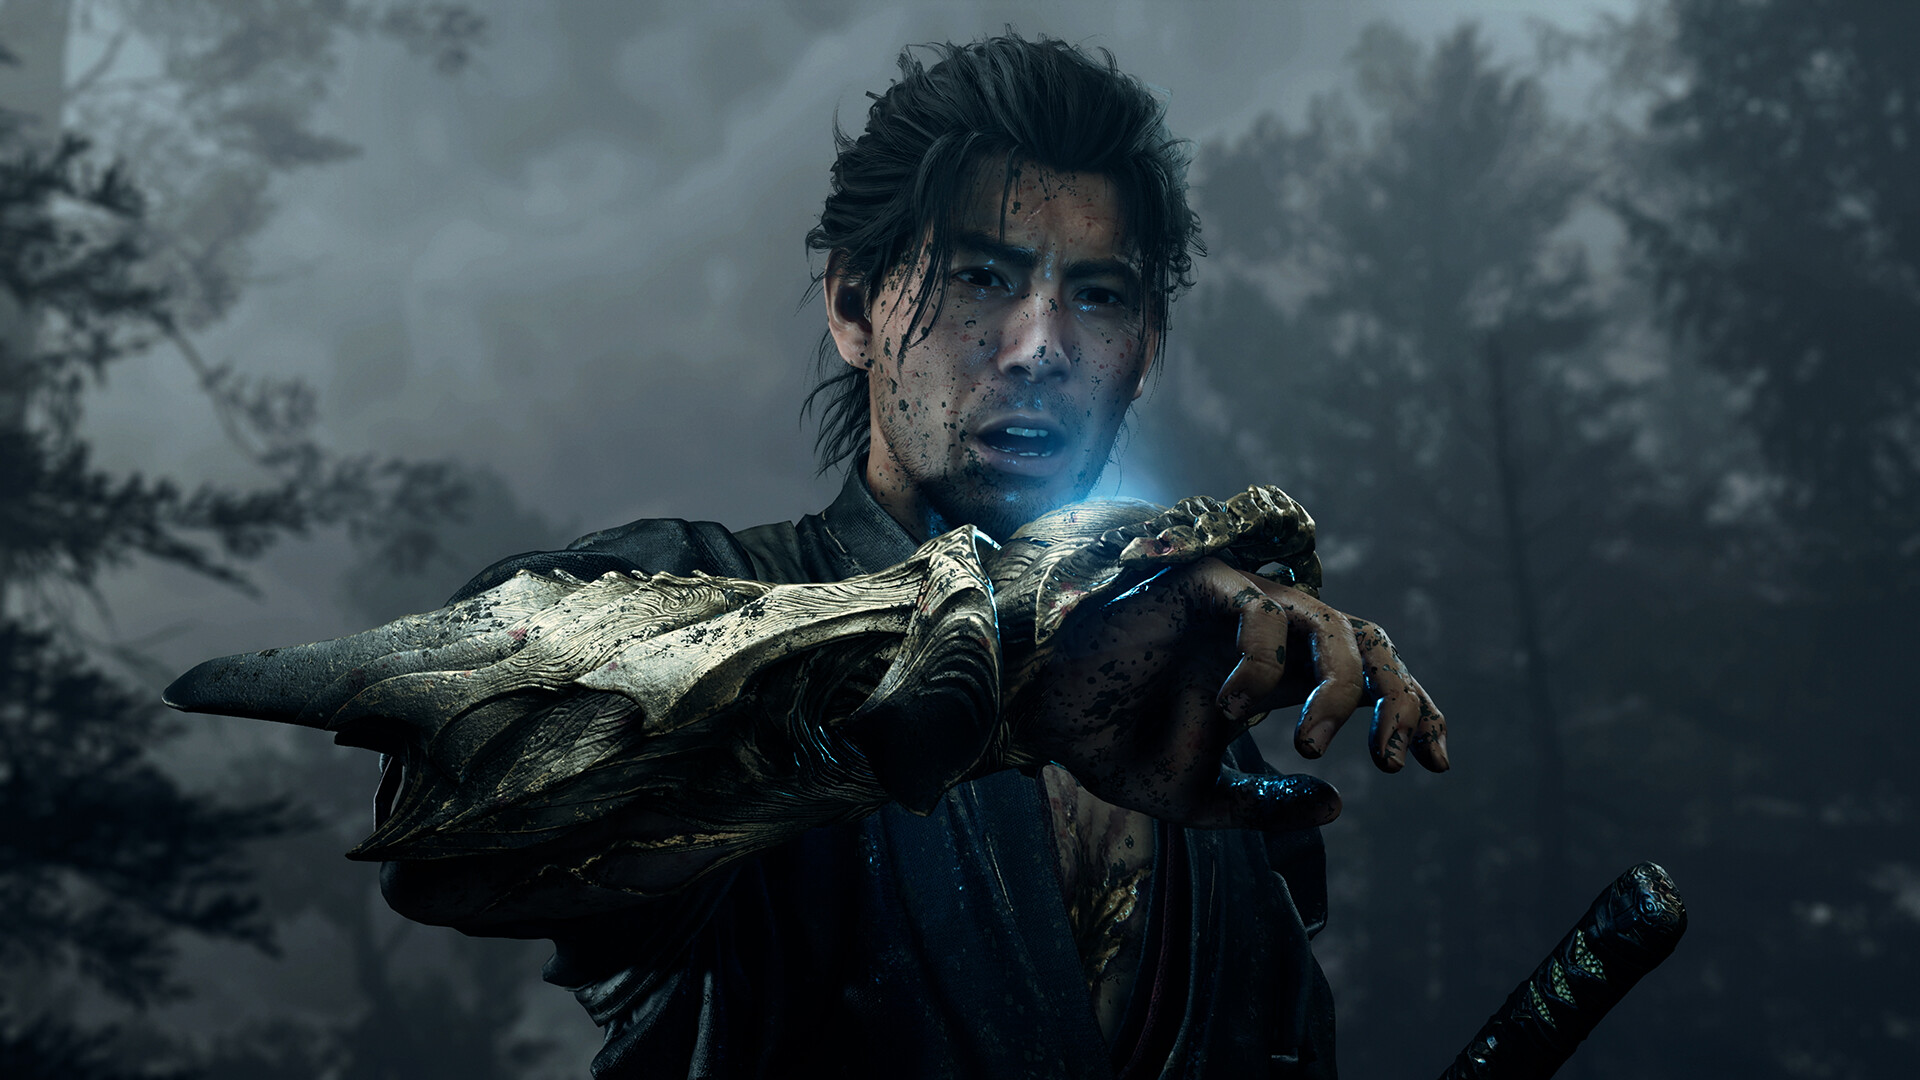
Onimusha Way of the Sword combat mechanics are a defensive chain: read the attack, answer it with the right defensive option, drain the enemy's stamina, then punish the stagger. Damage is what you get at the end of that chain, not the thing you chase at the start of it.
Musashi fights with one katana held in one of two stances, and every fight runs through the same five defensive options, an enemy stamina bar underneath their health, and four colours of soul to collect.
On this page
One-handed and two-handed attacks
The stance is a real choice you can switch mid-fight, and it costs nothing to change.
- One-handed is faster and shorter. Use it to probe an unfamiliar enemy pattern and to punish after a successful defence.
- Two-handed has a longer wind-up but much higher damage. Use it only on a confirmed opening, such as an enemy in stagger or a long recovery.
Do not commit to one stance. Weak Genma can sidestep a vertical heavy swing, so an opening you predicted is still not a guaranteed hit.
Onimusha Way of the Sword combat mechanics: the five defensive options
Ordered by how much enemy stamina damage they do:
Parry
— tap the guard button just before the weapon makes contact. See the parry guide for the timing window and the cues that tell you it landed.
Deflect
— hold guard and press an attack button at the instant of contact. Drains far more stamina than a parry, and it is the answer to arrows and armoured enemies. See the deflect guide.
Reflex Dodge
— dodge with correct timing against punches, kicks and grabs. A timed dodge gives an immediate follow-up strike, and three consecutive flawless dodges fill the Reflex Gauge, whose next successful dodge unlocks a multi-hit Reflex Combo finisher.
Guard
— hold the guard button. It covers every direction but drains Musashi's stamina, and an empty stamina bar ends in a guard break. Use it in short bursts against attacks you cannot read yet.
Issen
— press attack at the instant an enemy strike is about to land, instead of blocking. The tightest window in the game, with no separate button. Too early and it comes out as an ordinary attack; too late and the hit lands. A correct Issen steps around the blow and cuts, instantly killing regular Genma, and can chain into a Chain Issen when another enemy enters its critical window, with each link needing tighter timing.
A missed parry or deflect falls back into an ordinary block, so a wrong read costs stamina rather than your life. The one attack that beats both is a guard-breaking blow.
Which defence answers which attack
| What the enemy does | Answer |
|---|---|
Drawn-back weapon swing | Parry |
Heavy two-handed overhead from an armoured enemy | Deflect |
Arrows and other projectiles | Deflect to send it back, parry to cut it down |
Extended open hand, full lunge, punch, kick, grab | Reflex Dodge |
Any body part glowing pink or white | Parry or deflect — it cannot be dodged |
Blue glow on a hand, hair or appendage | Grab reversal on a well-timed dodge |
Ground cracking or red flash before the blow | Dodge, because blocking does not stop it |
Parry and deflect overlap on ordinary armed attacks. If you have narrowed an attack down to those two, the parry page explains which one to pick and what each one fails to answer.
Enemy stamina and Break Issen
Every enemy carries a second bar under their health. Attacks, parries, deflections and collisions all drain it.
Draining it completely puts the enemy into an exhaustion stagger and opens a context-sensitive Break Issen prompt: press attack inside the short stagger window to execute.
- On regular enemies, Break Issen is an instant kill.
- On bosses, it switches to slow-motion body-part targeting. Red parts deal more damage and purple parts give more Red Souls, so red is the default pick and purple is worth taking when you are close to an upgrade threshold. Severing a part can strip a boss ability or drop a soul.
Breaking stamina is the beginner-friendly damage route, because it only requires emptying the stamina bar instead of landing a frame-perfect counter.
Enemies are cut apart along the actual angle of the blade, so stance and movement change what gets dismembered.
Souls and what each colour does
Souls are absorbed with the Oni Gauntlet and are colour coded:
- Red buys and enhances skills and equipment.
- Yellow restores health and is your main healing resource.
- Blue fills Oni Power, which pays for Oni Armaments.
- Purple fills the Oni Awakening gauge.
Two rules make collecting a race rather than a chore. Musashi cannot attack or parry while absorbing, so collect only after you have created a safe opening. And enemies and bosses — Daidara in particular — will siphon floating souls to heal themselves.
Drop rates shift with your state: Red drops more from Break Issen executions, Blue becomes more plentiful as your Oni Power gauge empties, and Yellow drops more when your health is low.
Blaze Gauge and Blazing State
Chained parries or dodges fill the Blaze Gauge. At full, the Blazing State ignites the katana for extra health and stamina damage, improved deflects, and additional Blue soul drops until the gauge empties. Taking a hit resets the chain.
Oni Armaments in a fight
Oni Armaments are the secondary-weapon replacement for the old magic system. They are summoned mid-fight through the Oni Gauntlet by spending Oni Power, which Blue souls fill, and they swap in without costing you the katana. The Earth-Shakers drain heavy stamina damage and strip armour, the Wind-Whipper clears crowds, The Two Celestials generate healing souls, and the Oni Bow covers distant targets.
Hold Oni Power for a real opening rather than spending it on weak Genma. All seven armaments, their locations, their rankings and their Sword Appearances are on the weapons guide.
Oni Vision and Action Prompts
Two options make the rest of the fight readable:
- Oni Vision reveals hidden paths, charms, treasure and ambushes in an area.
- Action Prompts, toggled in the Gameplay settings, put an on-screen icon on incoming attacks telling you how to answer them.
Takamura's Training Exercises at the Practice Ground are repeatable parry drills on regular Genma, and a new drill boss appears only after you have beaten that boss once.